In-Store Checkout
Sell at the counter: scan or search your catalog, take cash, card or UPI, and keep every sale in your workspace.
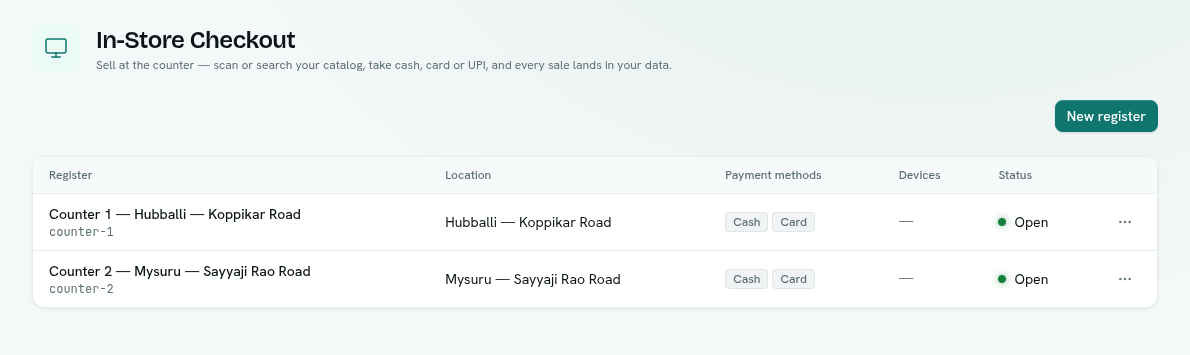
In-Store Checkout turns a browser page into a till. You set up a register for each counter, map it to your product records, and your staff scan items, take payment and print a receipt. Every sale is stored and can be reported on.
What you can do
- Set up a register — name it, tie it to a store, choose payment methods and map your products. Set up a register
- Sell at the register — the full-screen checkout with scan, cart, discount and payment. Sell at the register
- Review sales and void unpaid ones — the sales list with filters. Sales
- Track your card machines — terminal brands and a registry of devices. Terminals and devices
Before you start
- Who can use it: the In-store checkout row on the Roles page. Can view sees registers and their sales. Can sell rings up sales and voids a sale that has not been paid. Full control adds register setup, terminal brands and devices. Access can be given per register, so a cashier can be limited to one counter. Without view access you see "No access to In-Store Checkout".
- Switching it off: it is an optional app and must be on in Settings → Apps.
- A store location: a register belongs to a Location record whose type is "store". Add one first in your stock or warehouse records.
- Your products: the register sells from a record type you choose, such as Products. You need at least a price field.
- UPI: needs a Razorpay connection. See Connect Razorpay.
- A browser with a connection. There is no offline mode.
Where to find it
Launcher category Commerce › In-Store Checkout. The left rail has:
- Registers — your counters; click one to open it full-screen.
- Sales — every sale across the registers you can see.
- Devices — terminal brands and your registry of machines.
Key ideas
| Term | What it means |
|---|---|
| Register | One checkout counter. Its settings (payment methods, catalog, inventory) live on the register. |
| Sale | One transaction with lines, a discount, and payments. Status: paid, pending or void. |
| Tender | A way of paying: Cash, Card, or UPI QR. |
| Catalog mapping | Which record type and fields the register sells from. Nothing is copied. |
| Device | A physical card machine, soundbox or all-in-one, recorded for your reference. |